
Step 2: Print and mount
One printed part holds the gimbal, the battery and the air unit, and it snaps onto the carbon tray in the cockpit. No drilling in the airframe.
This is version 4, our first working prototype and the one we fly. More versions will follow. The slide lock in particular still needs work.
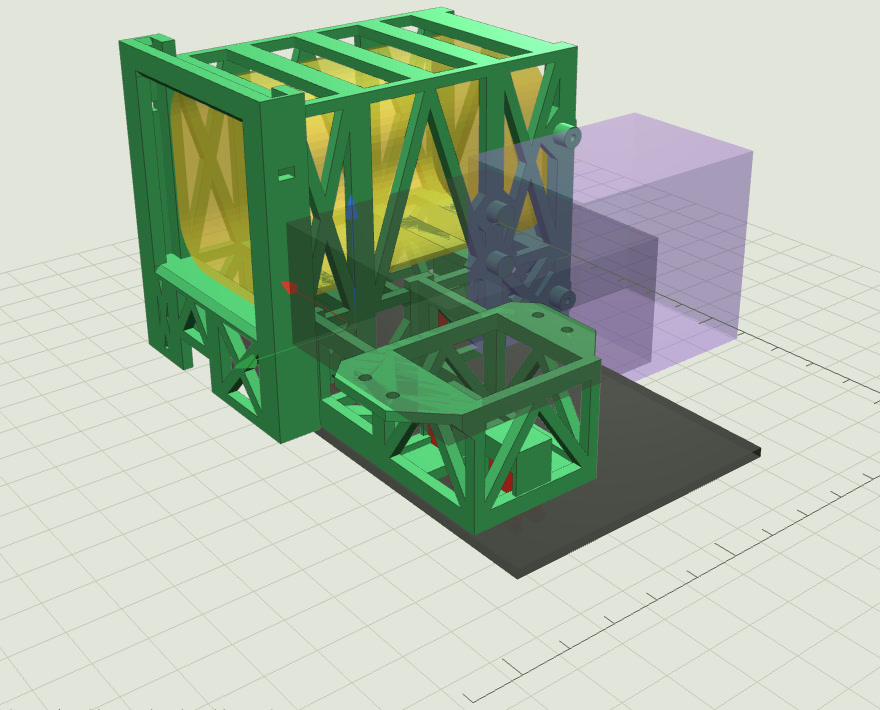
| Part | Qty | File |
|---|---|---|
| Mount (gimbal seat, battery cage and air-unit face in one piece) | 1 | huey-fpv-mount.stl |
| Slide lock, made for this version of the mount | 1 | huey-fpv-slide-lock.stl |
| Snap pegs | 4 | huey-fpv-snap-pegs.stl |
| Gimbal shims, optional | 2 mm or 4 mm | 2 mm, 4 mm |
Our settings: PLA, textured PEI plate, 3 walls, 25% infill, no supports. On a Bambu Lab X1 Carbon the mount takes about 2 h 38 min and 58 g, the slide lock 8 min and 4 g.
Small parts
Section titled “Small parts”| Where | What | Qty |
|---|---|---|
| Gimbal to mount | M2×4 screw (M2×6 with the 2 mm shim, M2×8 with the 4 mm shim) | 4 |
| Air-unit plate to mount | Self-tapping screw for plastic, 2.0×6, cylinder head | 2 |
Assemble
Section titled “Assemble”Print now, but don’t assemble yet. Do steps 3 to 5 on the desk first, and come back here once the camera follows your head.
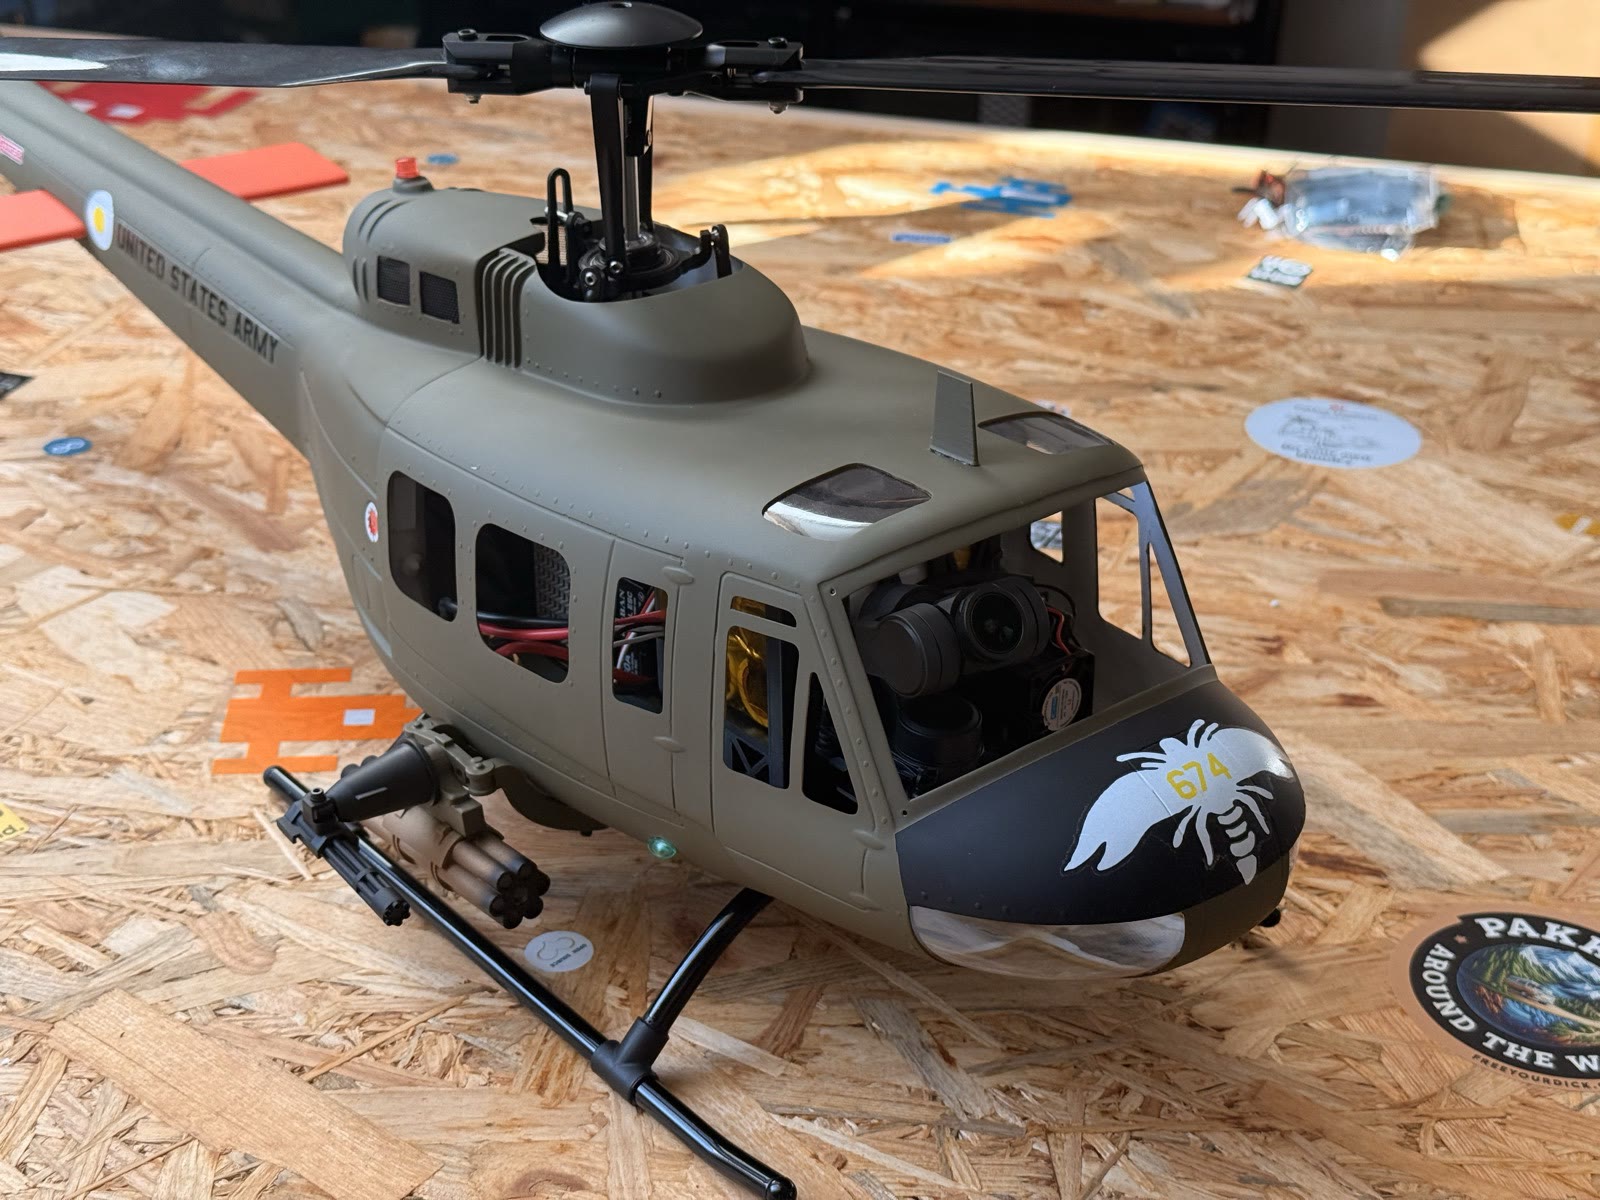
- Open the cockpit. The cabin lifts off on magnets and slides forward. We fly without the front windscreen so the camera has a clear view.
- Pegs. Press the 4 snap pegs into the sockets in the floor of the mount: 2 at the front under the gimbal, 2 under the cage. A drop of CA glue helps if one is loose.
- Mount on the tray. Line the pegs up with the slots in the carbon tray and press down at the front and rear until all 4 click under the tray. The cut-outs in the mount sit over the frame ribs. It should hold on the pegs alone. Ours needed CA glue at the rear. Add glue only after the fit check at the end of this page.
- Gimbal. 4 × M2×4 from under the 2 mm roof of the gimbal seat, using a 1.5 mm L-key from the front.
- Air unit. Snap the base plate along its perforation and keep the air-unit half. Put it on the front of the cage on the helicopter’s left side (your right as you face the nose), fan facing forward, with the 2 self-tapping screws through the holes between the connectors.
- Battery. Slide it in from the helicopter’s right side, over the rim, until it stops. The cable leaves through the rear lower corner, towards the ESC.
- Slide lock. Push it into the channels from above. Its open rear corner clears the cable. The finger at the bottom of its front leg clicks into the front channel, and the two fingers at the top press against the channel floors and hold it by friction.
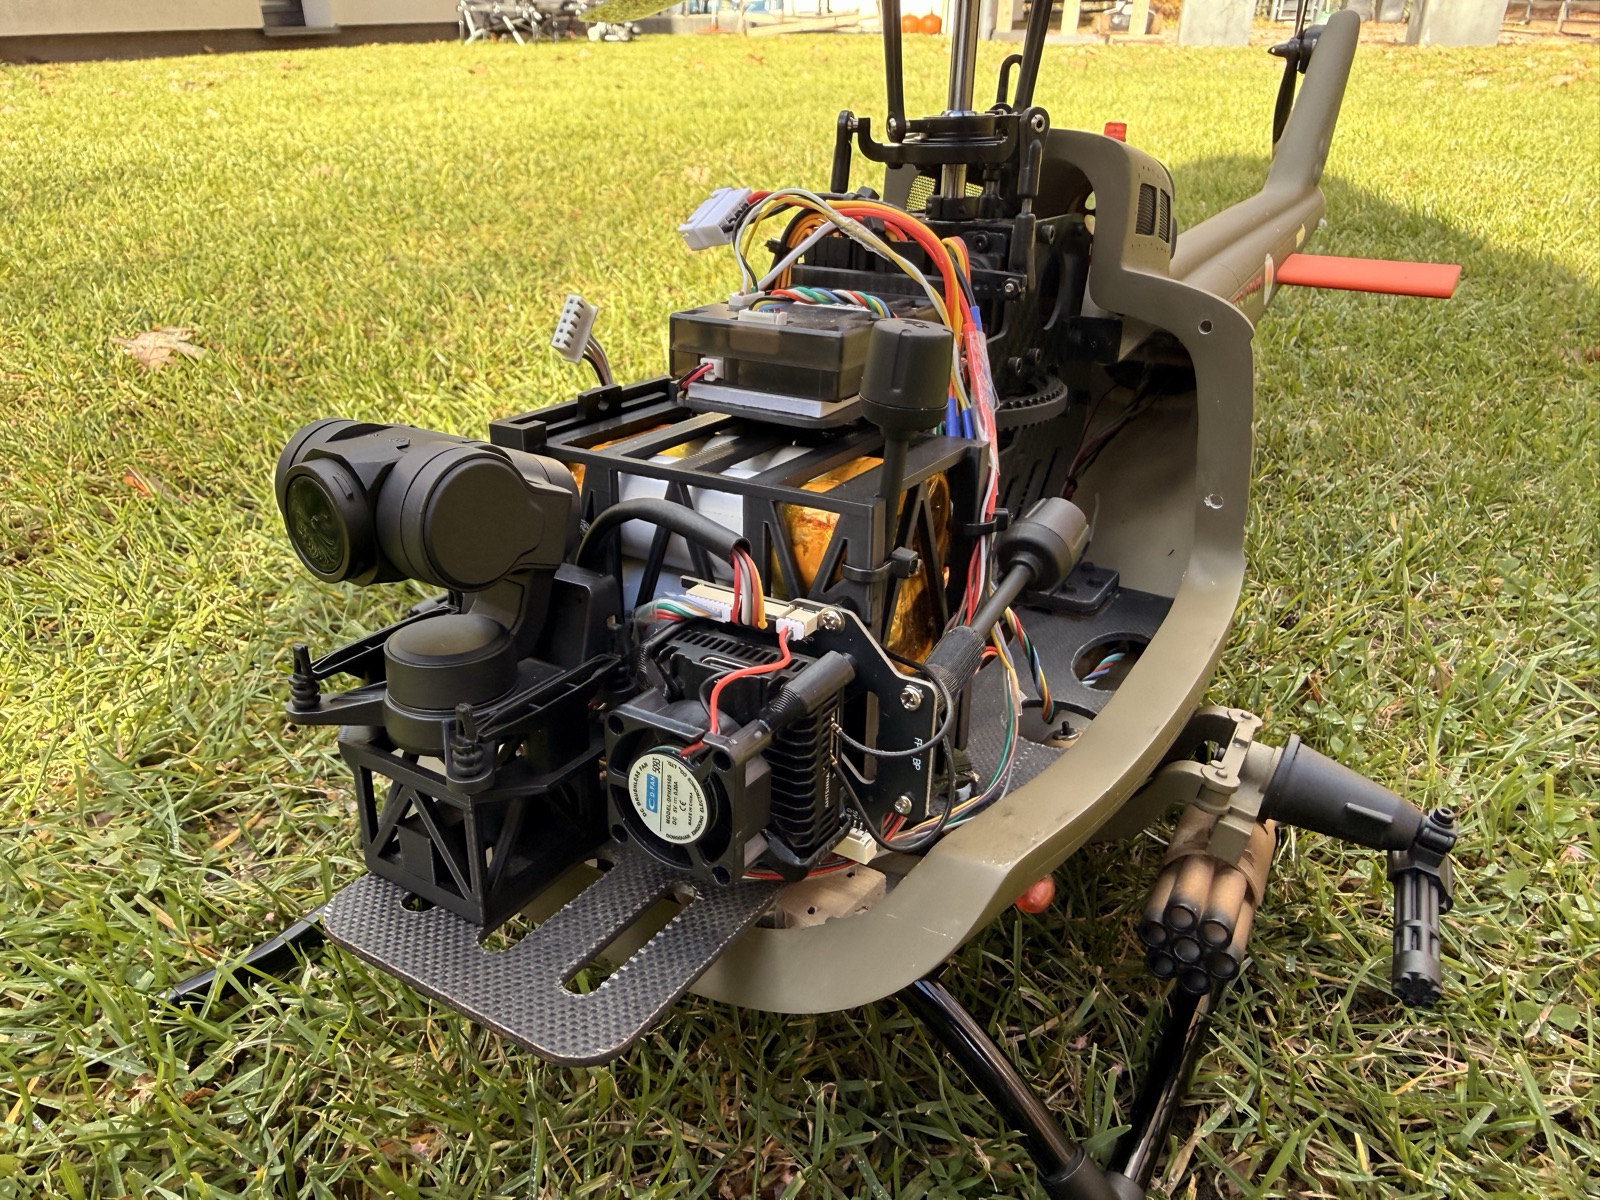
To change the battery: pull the slide lock up firmly by its handle, then slide the battery out to the right. To remove the mount before gluing: take out the lock and battery, then pull up hard, rear first.
Check the fit
Section titled “Check the fit”- The rear pegs land in the rear slots of the tray.
- The battery goes in over the rim without lifting.
- The slide lock sits firmly and comes out only upwards.
- The cage roof clears the flight controller.
- The gimbal clears the cabin roof, and the cabin goes on without force.
Balance it
Section titled “Balance it”Hang the helicopter by the rotor head. The blades should sit level. With the full FPV set and our pack it hangs almost level, very slightly tail-heavy, and we fly it like that.