
PPM (analog)
PPM is Magic Box’s analog output — always on, no Web UI configuration needed. It rides on the dedicated PPM 3.5 mm jack on the case.
Two paths typically use it:
- A radio’s trainer port (typical for classic Tx like RadioMaster, FrSky) — Magic Box becomes a sim-like external joystick into a normal radio.
- A PPM-capable external TX module (multiprotocol modules, FrSky XJT, Flysky FRM303, even some 4-in-1 modules). Same chain pattern as digital protocols — wiring details for the module side are on the Wiring & TX Modules page. The FRM303 needs configuring on both ends — there’s a full step-by-step for it there.
The PPM output and the UART (digital) output run side by side on Magic Box, so you can drive a PPM trainer port and an SBUS / IBUS / CRSF link at the same time if your setup needs both.
Wiring
Section titled “Wiring”Plug the supplied 3.5 mm stereo cable into the PPM jack on Magic Box. The other end goes to your radio’s trainer port (or to the PPM input on a module).
Jack polarity (tip vs ring)
Section titled “Jack polarity (tip vs ring)”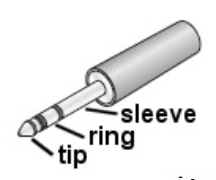
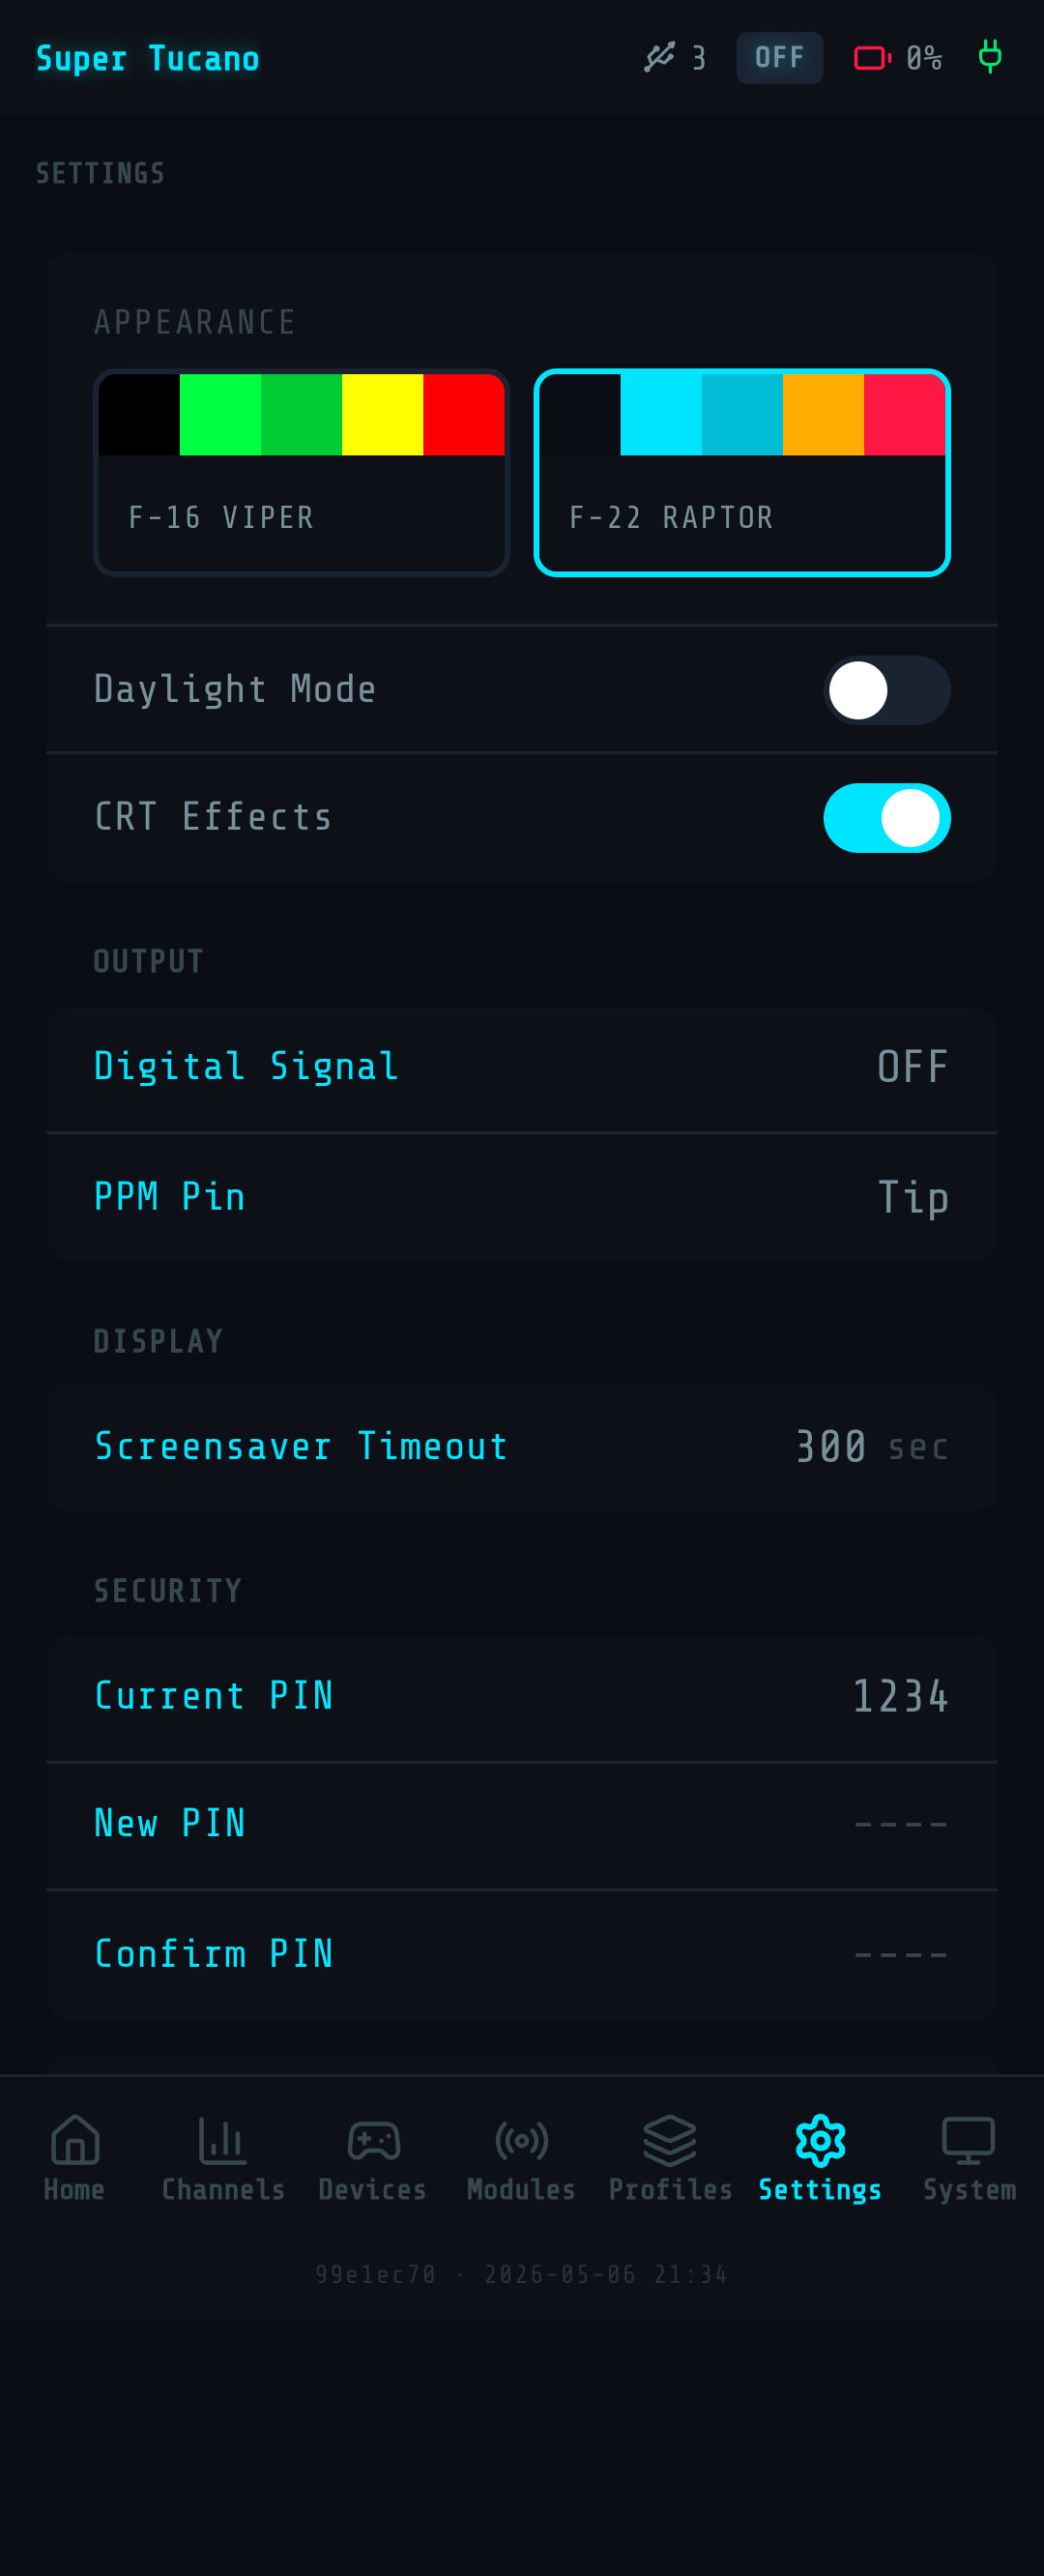
Which contact carries the signal depends on the radio, not on its age. Measured on the bench: FlySky radios listen on the ring, which is what Magic Box sends out of the box; EdgeTX radios such as the RadioMaster TX16S listen on the tip. Set it in the Web UI under Settings → PPM Pin — pick tip or ring to match your radio, and if you’re unsure, try both while watching the radio’s trainer screen. One of the two moves the bars.
Radio side setup
Section titled “Radio side setup”Putting PPM on the wire is our half of the chain. The radio has to be told to listen, and three things on the radio decide whether it does.
- The jack contact — covered above. PPM Pin has to match what your radio listens on.
- Who flies. Trainer mode pairs an instructor with a student, and Magic Box is the student. The radio needs to sit in the position that hands control to the student — a switch on the front, a setting in the trainer menu, or both. Labels vary and they aren’t always intuitive: on a FlySky PL18 the setting reads
Trainer control: On/OFF, and OFF is the one that lets the student fly. A radio still holding its own sticks looks exactly like a dead cable. - Where each channel lands. Trainer input is assigned per channel on the radio, and each one has to drive an output or a function — not sit alongside the radio’s own stick. An unassigned channel leaves the radio’s channel monitor still even with a clean signal on the wire, because that monitor shows what the radio sends out, not what it receives.
A 3.5 mm socket on the back isn’t proof of a working wired trainer input on its own — on some radios that jack serves a different function. If all three settings are right and nothing moves, check the radio’s own trainer screen: it shows incoming channels live, which separates a wiring question from a mapping one.
Verify before you fly
Section titled “Verify before you fly”The Web UI’s live channel view shows what’s going out on every channel. Move your HOTAS axes and watch the channels respond. Then watch the same motion at the model end — sticks driving servos (line-of-sight setup), or channel bars filling in your flight controller’s receiver tab.
- Want a digital output instead? See SBUS, IBUS (for FlySky), or CRSF.
- Wiring Magic Box straight to a TX module (no radio in between)? See External TX Modules.