
Step 7: First flight
Fly your first flights in clear sight of the helicopter, with someone next to you if you’re wearing goggles. These blades are fast enough to hurt, so follow your local FPV rules.
Final bench check
Section titled “Final bench check”Run this once the build is finished, and again after any firmware flash. Flight controller connected to Mission Planner, disarmed, interlock on CUT.
- Orientation. Tip the right side down and roll goes positive. Lift the nose and pitch goes positive.
- Compass. Heading roughly matches a phone compass. Check it outdoors, indoor readings drift.
- Battery voltage. The flight controller’s reading matches the voltage in the goggles.
- Swash. Collective moves it evenly up and down, and cyclic follows the stick.
- Flight modes. The three positions give Manual (Acro), Angle (Stabilize) and GPS (Loiter), and the RTL switch gives RTL.
- Channels. Every channel matches the channel plan, read at the flight controller.
- Gimbal. It follows your head the right way round, and Override hands it to the knobs.
- Balance. Hung by the rotor head, the blades sit level.
Test the failsafe on the bench
Section titled “Test the failsafe on the bench”We’ve run both tests on our Huey on the bench, disarmed. Switching the module off triggered the failsafe (Radio Failsafe - Disarming). Pulling the PPM cable didn’t, and neither did a frozen Magic Box app. The steps below are the armed version. Run them on your own build before you rely on the failsafe.
- Take the blades off and set the interlock to CUT.
- Wait for a GPS fix and arm.
- Within 10 seconds of arming, switch the TX module off. On CUT the flight controller disarms itself after that, and the test proves nothing.
- The flight controller should report
Radio Failsafe - Disarmingand disarm. On the ground it disarms instead of flying home, so this test shows that the failsafe triggers. It can’t show the return to home itself. - Repeat with the TX module left on and the PPM cable pulled out of Magic Box. The module has its own power, so a loose jack or a hung Magic Box doesn’t stop it transmitting. On our bench it kept sending the last values, its LED stayed green and the flight controller reported no failsafe. So secure the PPM plug at both ends, and if the sticks stop responding, switch the module off. That starts the failsafe on the bench; we haven’t tried it in the air. Details: if the PPM signal is lost.
S.BUS carries a failsafe flag that doesn’t show in the channel values, so every channel holding its last value is normal. That flag is what the flight controller reads. The options are in the FRM303 failsafe menu.
Before each flight
Section titled “Before each flight”- Interlock on CUT, RTL off, GPS mode.
- Helicopter level when you power up. The gimbal detects its mounting at power-on.
- Balance lead and XT60 connected, slide lock clicked in.
- Gimbal moves with your head, video and OSD in the goggles.
- Pack voltage measured with a battery checker. The X2 doesn’t check it at arming.
- Timer running. The manual gives about 8 minutes on the kit’s LiPo.
Take-off
Section titled “Take-off”Arming is a stick gesture: throttle down and full right pedal for about 2 seconds. It retries every 2 seconds, so keep holding while the flight controller waits for GPS home.
- Start in GPS mode. Return to home needs a home point, and home is where you arm.
- Throttle at 1000, arm with the gesture.
- Interlock to RUN within 10 seconds, or the flight controller disarms itself.
- Wait about 10 seconds for the rotor to run up, then raise the throttle.
In GPS mode the throttle is climb rate, not collective. Mid-stick means hold altitude, so sitting on the ground at 1500 doesn’t take off. Lift-off needs more than about 1580 µs. Starting the run-up with the throttle high makes the helicopter jump when the run-up ends.
Stay above 1 m in GPS hold. Ground reflections upset the GPS closer than that.
If something goes wrong
Section titled “If something goes wrong”In GPS mode, centre the sticks and let go. The helicopter stops and holds by itself.
Keep your hand off the interlock in the air. CUT stops the rotor drive at once and you’re in an autorotation. It’s the switch for the ground or a real emergency.
Common problems
Section titled “Common problems”| What you see | Likely cause | What to do |
|---|---|---|
| Head tracker does nothing in Magic Box | Cable or jack contact | Open Modules, then your module, and watch the live preview. No movement: check the jack contact |
| Gimbal ignores your head, channels move | FPV ground isn’t common with the pack | Measure pack negative to gimbal GND: must be 0 V |
| Full pedal doesn’t arm, no message at all | Channel 4 reversed, or thresholds not reached | Check physical pedal against µs at the flight controller |
PreArm: message | Flight controller isn’t ready | Sticks don’t matter yet. Wait for GPS and home |
Arm: message | Gesture received, arming refused | Read the reason in the message |
| Armed, then disarms after 10 s | Normal auto-disarm | Go to RUN sooner |
| FRM303 LED red, 2 s on and 3 s off | The module sees no PPM | Run the FRM303 PPM setup. In Settings, set PPM Pin to the contact your cable uses and confirm with the green tick. If it already shows that pin, switch to the other one, confirm, and switch back: only a confirmed change is saved |
| Channels react only when you wiggle the plug | Signal on the wrong jack contact | Same as above, then check the cable with a multimeter |
| Magic Box dead, no screen and no Wi-Fi | Power | Check the power switch, and use a LiPo instead of USB |
| Return to home fires after a minute or two | Factory voltage threshold on Li-ion | Set the low-voltage value for your pack |
| Goggles show “1 V” instead of 16.0 V | MSP_OPTIONS is 0 | Set 4 and restart |
| Flight controller doesn’t appear on USB | USB-C to USB-C cable | Use a USB-A port or adapter |
| Camera twitchy | Head tracker gain too high | Lower the gain in CwHeadTracker |
| Pitch axis jerks | Camera coax pulled tight | Give it slack |
| Can’t find the Magic Box Web UI | It runs its own network | Join its Wi-Fi, then open http://magic.box |
| Jello in the picture | Rotor vibration | We’re still tuning this: check blade tracking first |
How this build came together
Section titled “How this build came together”The Huey arrived in the summer as a ready-to-fly kit. FPV came in the autumn, and that part took about a week from the first fitting to the first flight.
| When | What happened |
|---|---|
| Early July | First take-off, then Magic Box in place of the kit radio |
| 15 July | First flights on the full HOTAS, including one panic landing |
| 31 October | Gimbal, air unit and head tracking working on the bench |
| 1 November | Custom firmware, flight data in the goggles |
| 3 to 6 November | Several printed versions of the mount, about 2.5 hours of printing each |
| 6 November | First flight with FPV |
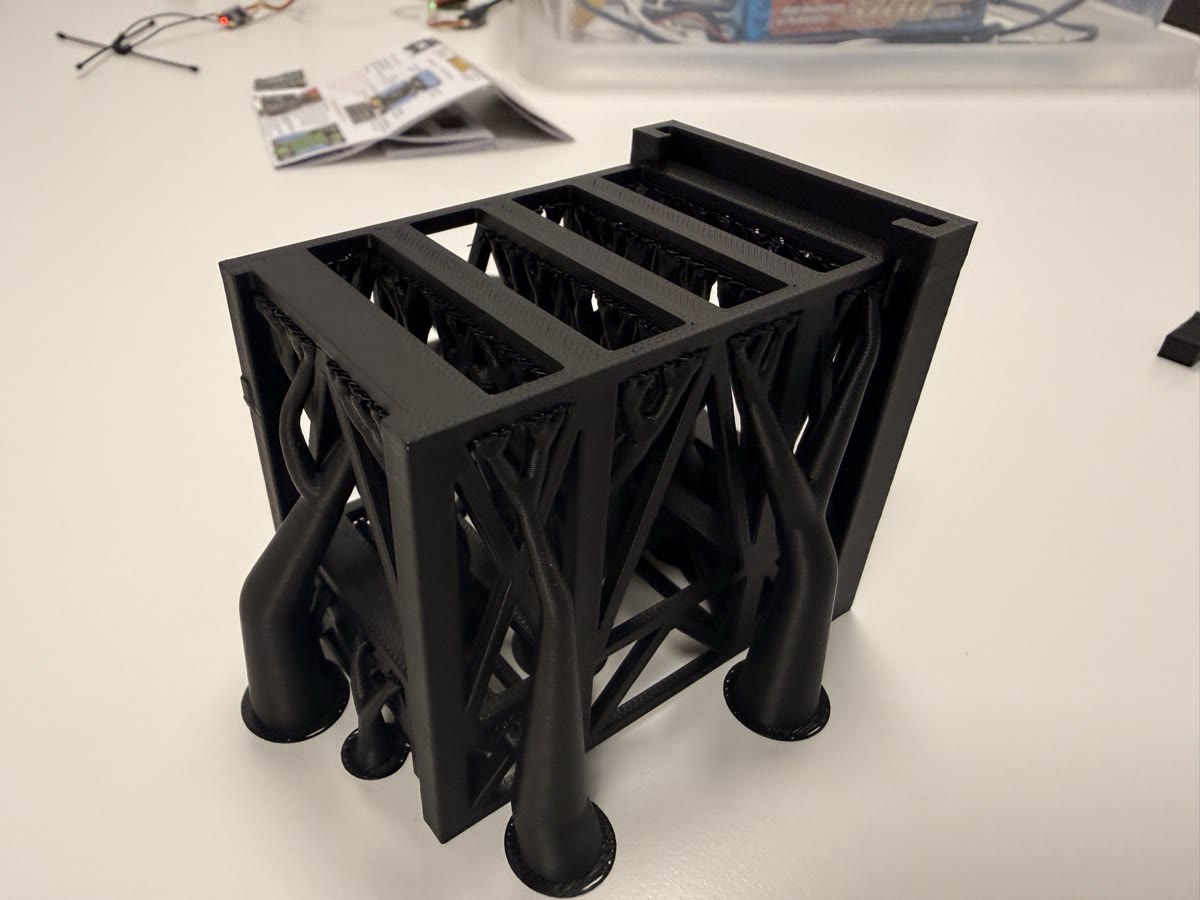
The project itself isn’t hard: no custom electronics, one printed part and a handful of parameters. It went this quickly because most of the pieces were already familiar from our F-22 and Super Tucano. If this is your first FPV install, allow more time, and get the video and head tracking working on the bench before you fit anything in the helicopter.
Good luck
Section titled “Good luck”Thanks for reading this far. Good luck with your build, and enjoy the first flight.
Built one, or built it differently? Show us in the SilverFox RC Facebook group.